On a hunt for the perfect family hike no matter the season? Utah’s never ending winters and blazing hot summers make it hard to find a consistently reliable trail. Look no further! Whether you’re looking to enjoy the snow capped mountain views or soak up the sun, consider us your tour guides for the ideal all-season trail: Orson Smith Trail to Bear Canyon Suspension Bridge. Here’s everything you need to know about planning your hike.
Trail Details
Distance: 2.3 Miles
Difficulty: Easy
Route Type: Loop
Elevation Gain: 439 Feet
Dogs Allowed: Yes, must be on a leash.
Trail Location
Trailhead Address: Orson Smith Park, 12621 S Highland Drive, Draper, Utah 84020 (https://goo.gl/maps/9kufD913Rdzhbo7U7)
Located on the east side of Draper, the easiest way to access Bear Canyon Suspension Bridge is from Orson Smith Park on Highland Drive. Not far off of I-15, this beautiful trail starts in the foothills of the Wasatch Mountain Range. Because of its popularity, it’s well-equipped to support crowds with three paved parking areas (upper, lower, and additional parking just south of the entrance if needed) as well as bathrooms.
Trail Description
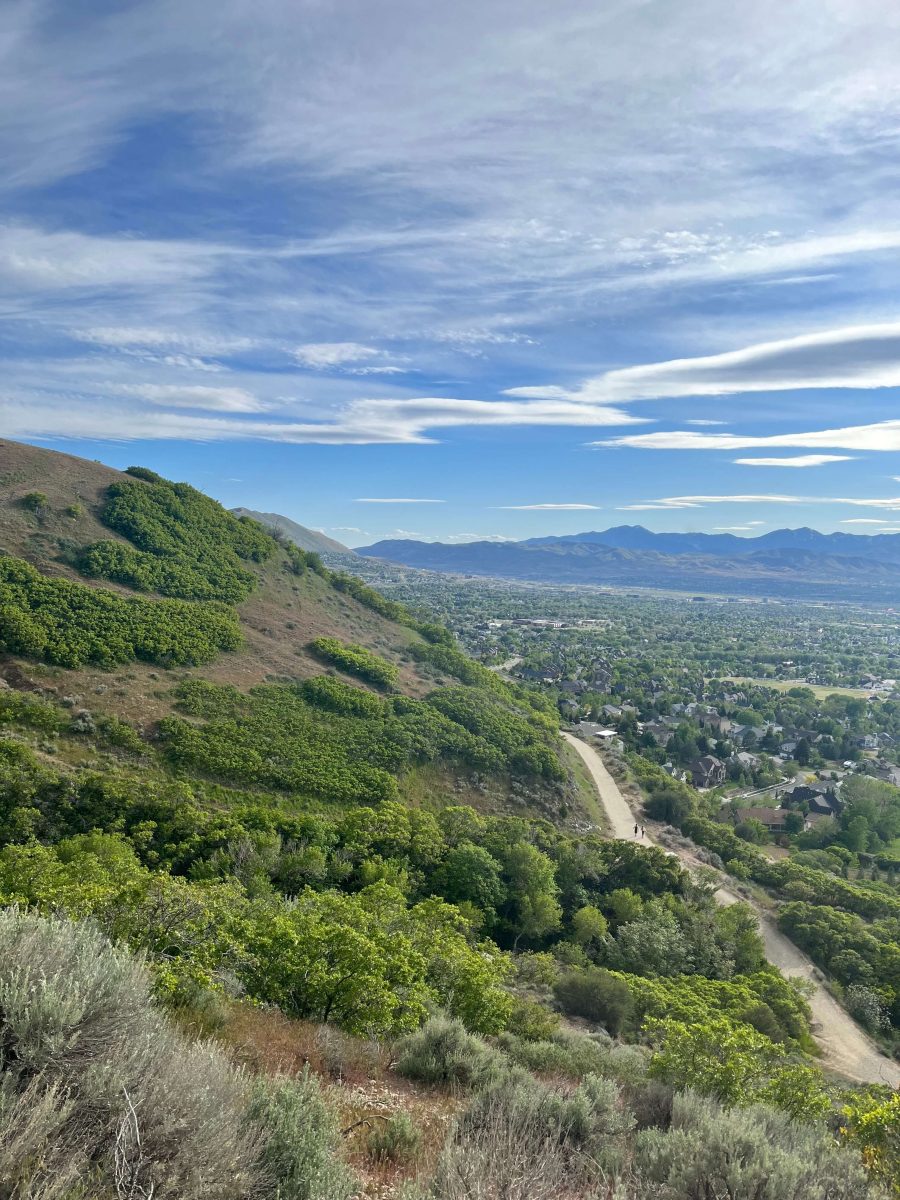
This well maintained path begins with about a quarter mile of winding switchbacks ascending from the parking lot trailhead to your first junction, crossing over what’s known as Aqueduct Trail. From there, hikers have the option to continue north on the Aqueduct Trail for a more gradual loop or opt for steeper switchbacks following the east loop.
Headed north, on a clear day you will have views of the Salt Lake City skyline as well as snow-capped peaks of the Wasatch Mountain Range. Headed east, enjoy views of the valley and the winding paths of the Bonneville Shoreline Trail (BST). In either direction, a key feature of this loop is how well marked the trail is. It’s almost impossible to get lost. You’ll notice wooden signs throughout the loop guiding you to the bridge, or to extended trails along the BST should you be interested in continuing your journey. If you aren’t interested in adding any additional mileage, follow the signs that say “Bridge Loop” for the best path.
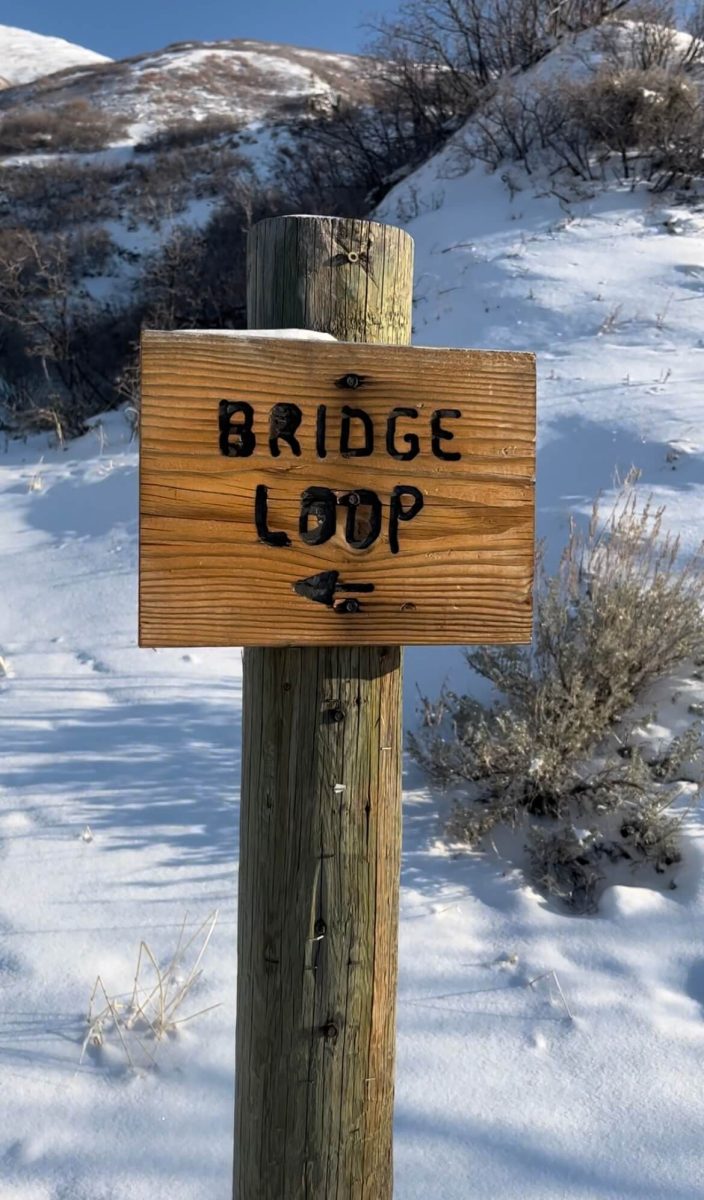
If you’re hiking with smaller children, we recommend following the north route, passing by the first “Bridge Loop” sign and continuing on the Aqueduct Trail until you reach the second sign. You’ll be following a much flatter trail towards a gradual climb, hiking down a steeper section after the bridge, rather than up.
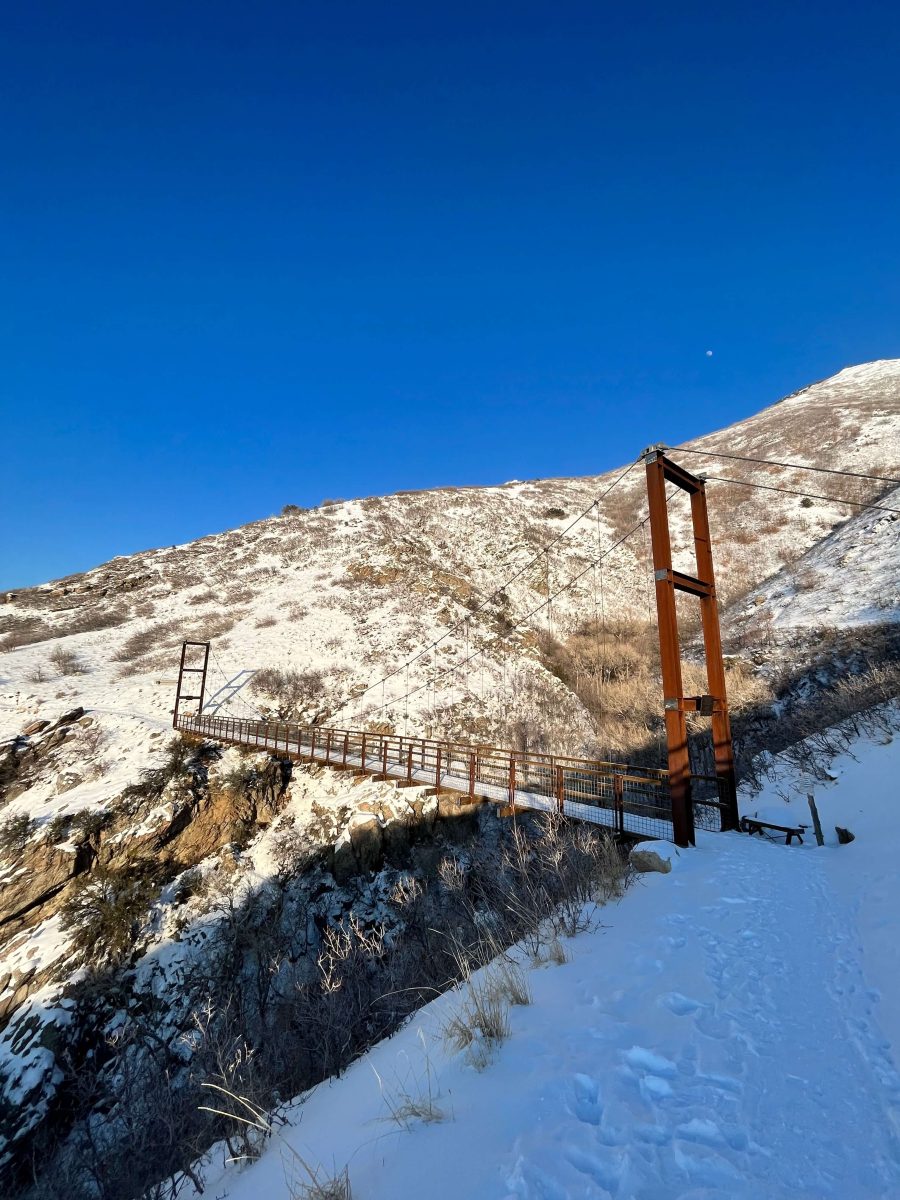
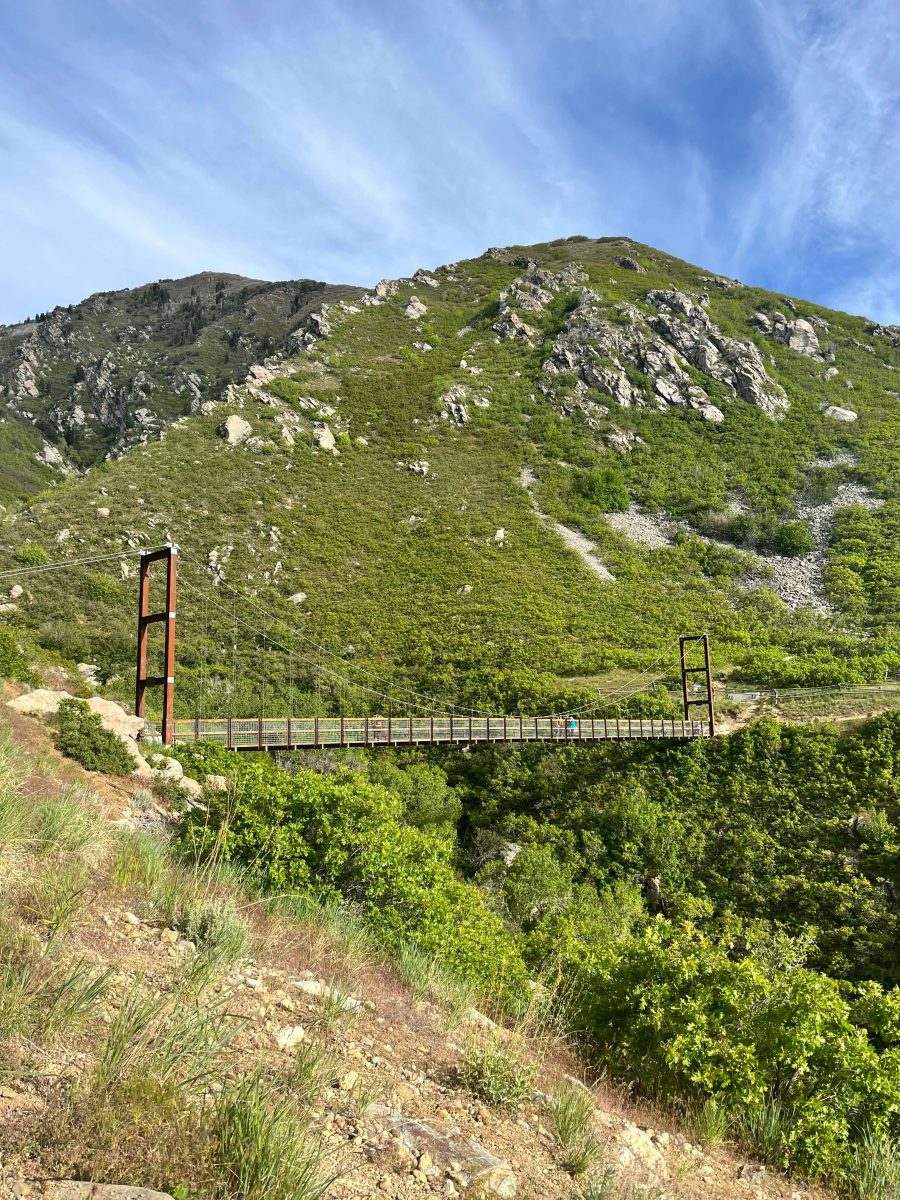
By this part of the trail, you may be asking yourself: where is this bridge? Following either loop, the bridge itself will not be visible until moments before you find yourself crossing it. Tucked away in the canyon, this is part of the magic of the trail. Spanning 185 feet, the beautifully constructed Bear Canyon Suspension Bridge offers breathtaking sites of the Salt Lake Valley, the watershed below, and, if you find yourself there at the right time, the accompanying sunset in the distance.
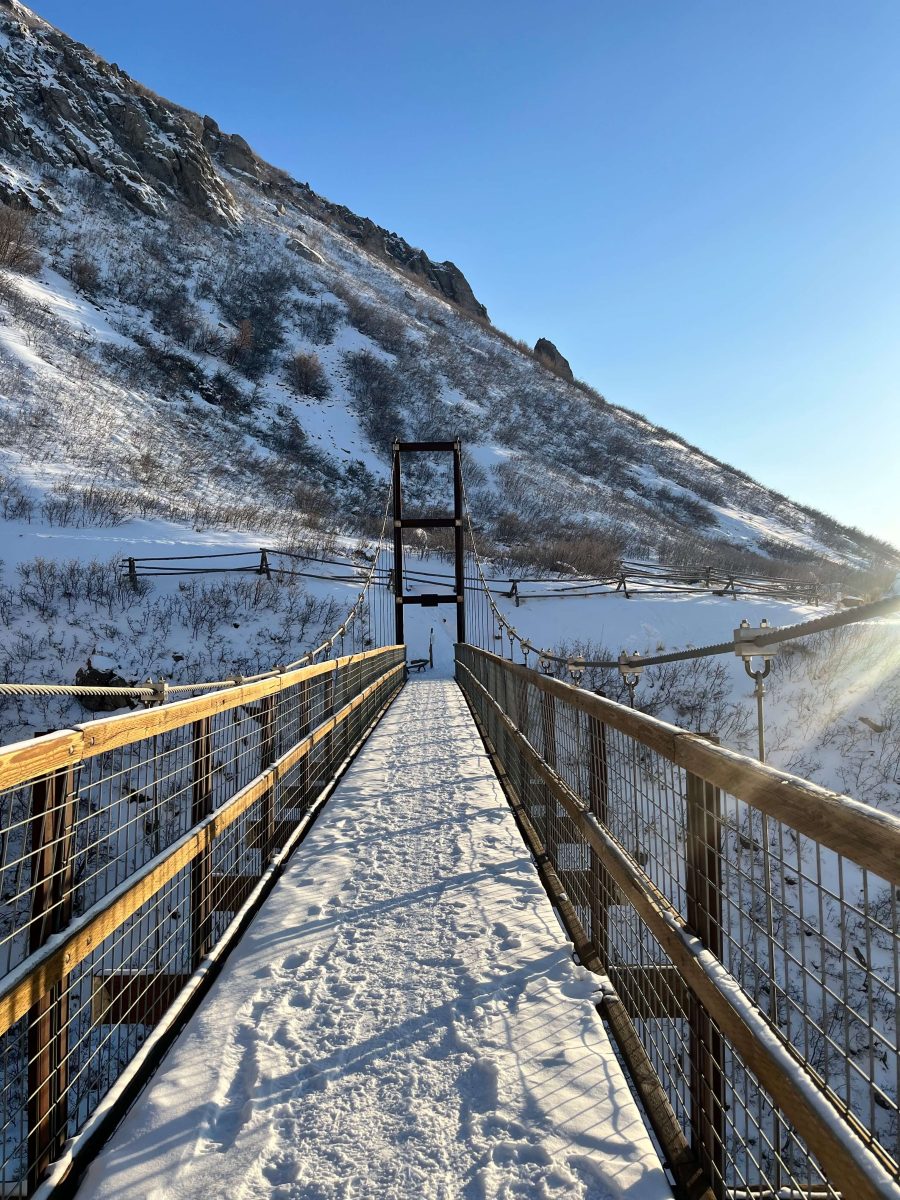
The bridge was completed in 2015 by the Ralph L. Wadsworth Construction company and dedicated to Clark Naylor and Associates for their dedication and efforts in building and maintaining countless trails in the Draper area. Built with metal fastenings, secure fences on either side, and wooden planks to walk across, the bridge may sway slightly as you walk across but never feels unsafe or uneven. It sits roughly 70 feet above the ravine below and you might catch a glimpse of a waterfall or two through the trees during seasons with enough runoff.
Throughout your walk, you’ll be sharing the route with other hikers, runners, and mountain bikers. Remember these tips to practice good trail etiquette:
- Uphill traffic has the right of way;
- Let others ahead of you know if you’re planning to pass so they can yield to you;
- Mountain bikers should yield to hikers, but it’s always better to be safe and keep an eye out of faster traffic.
When to Hike to Bear Canyon Suspension Bridge
As an all-season trail, the only thing that might stop your trip is the temperature. Most hikers recommend this loop between February and November, avoiding the extremely cold months out of comfort, but if you aren’t afraid of a few extra layers, all twelve months out of the year are open access.
Otherwise, even in a particularly snowy season as we’re having now, conditions are perfect. While you can expect a foot or more of snow on the trail at any time, it packs down quickly for easy accessibility. On colder days, we recommend carrying microspikes or snow cleats with you for additional traction on frozen sections, but typically shoes with good tread are all you need. If you’re willing to brave the cold in the winter months, you’ll certainly find less hikers on the trail for a more isolated experience.
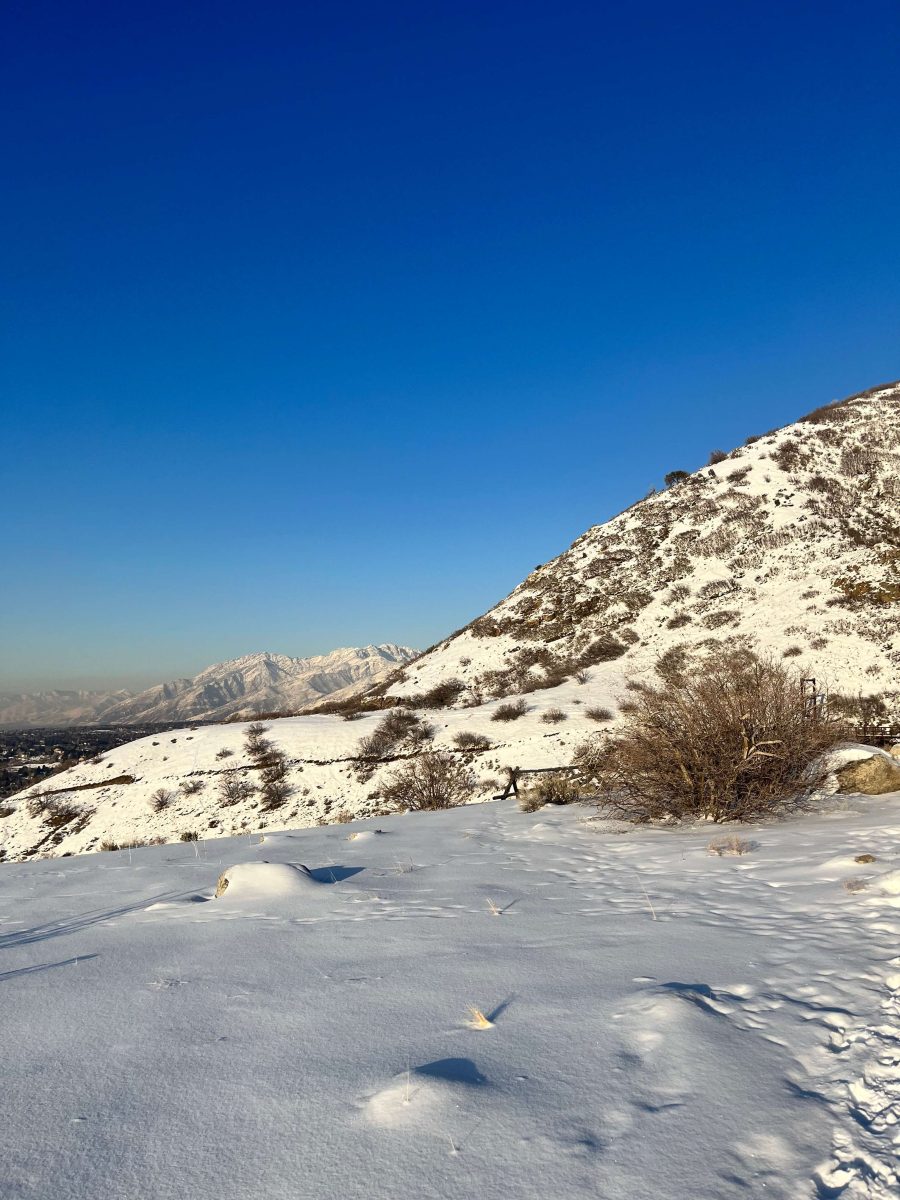
If you’ve been cooped up all winter and itching for the outdoors, plan a spring hike! In the earlier months, the trail will only just begin to see a few more visitors so you may have the space to explore on your own. Consider your footwear though. While the constant sun will be sure to dry out the path quicker than other areas, the first few warm weeks of spring will bring muddy.
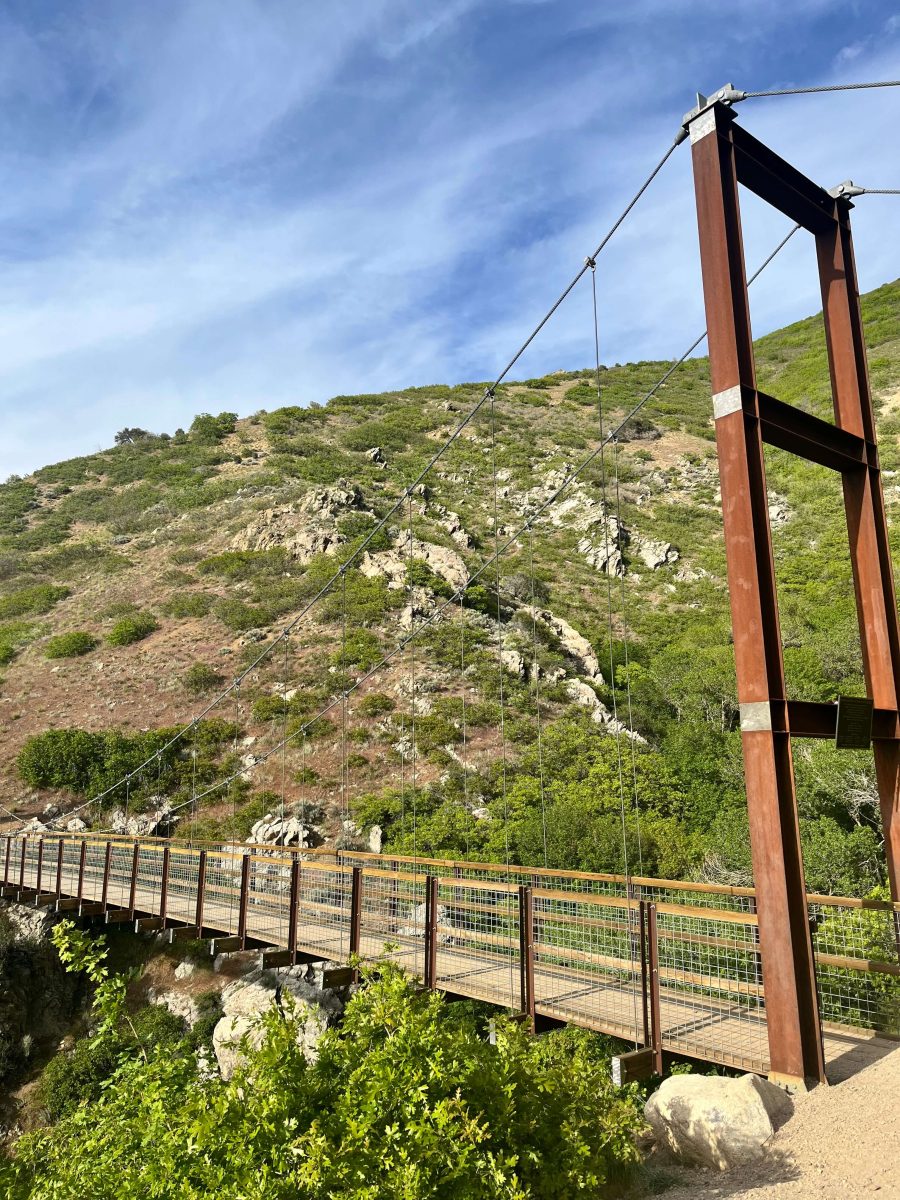
For summer hikers, you’re in luck! This spot is ideal for an early morning or late evening walk when you can beat the heat and escape the sun. Not to mention, the sunset views over the valley are quite a spectacle. If you do plan to explore in the middle of the day, be sure to pack plenty of water, sunscreen, and a hat. With little to no shade, even on a short loop it’s impossible to avoid the sun.
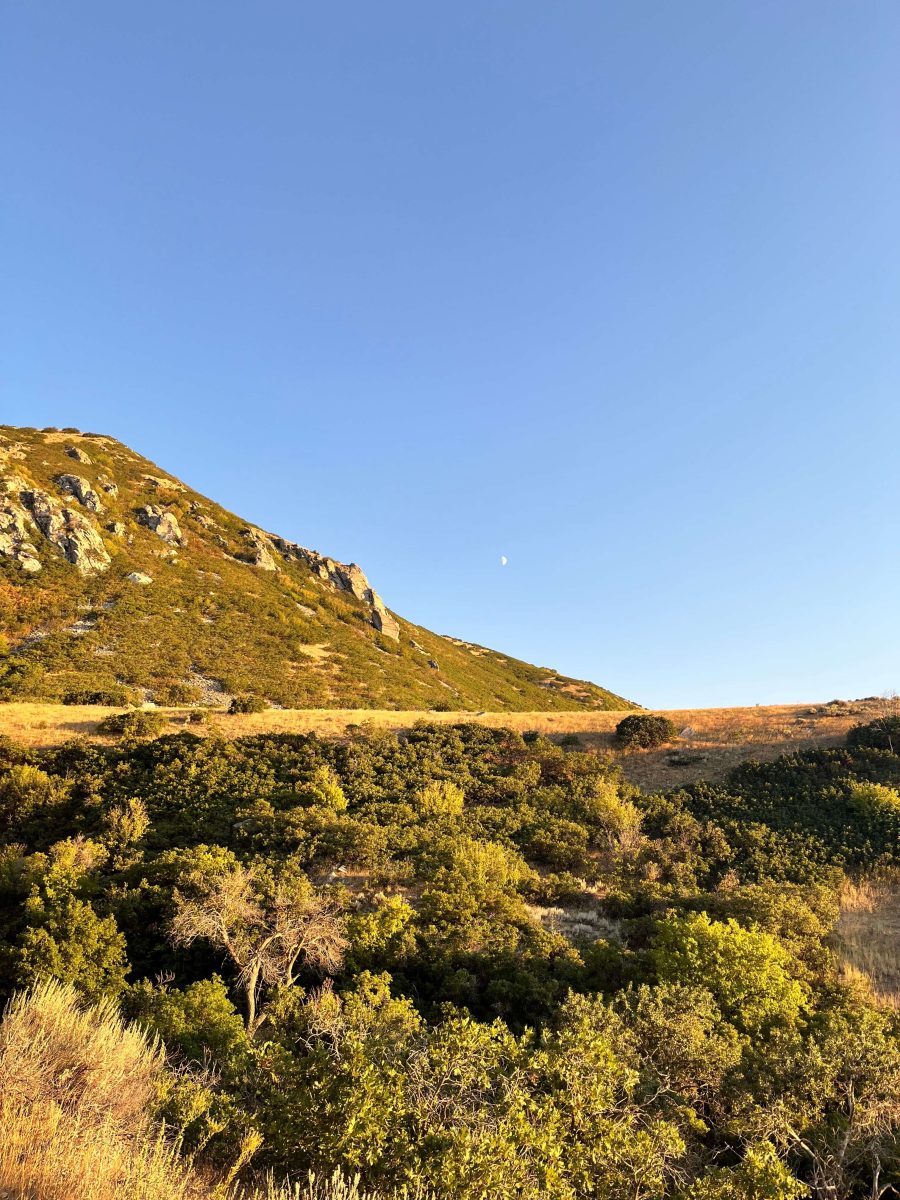
Finally, arguably the best time to visit is fall. Enjoy the constant sun without breaking too much of a sweat, beautiful views of the valley, and some changing foliage lining the foothills.
Tips For Hiking to Bear Canyon Suspension Bridge With Kids
Planning a hike for the whole family is never just about the trail, it’s about the whole experience. Consider extending your trip with a picnic at Orson Smith Park. Directly between the parking lot and the trail head, you’ll find covered picnic tables to lay out a lunch or entertain the family with some snacks. You’ll also be excited to find a small playground just next to the picnic tables. If the kids haven’t tired themselves out enough on the walk, give them time to climb the rock wall in some shade.
As for the trail itself, don’t hesitate to make the trip if you’re concerned the whole family won’t want to cross the bridge. The bridge is located at the perfect halfway point and at the very least is a great view. While the hike is intended to be a loop, it’s certainly just as enjoyable as an out-and-back. On either side of the bridge, there are benches perfect for anyone interested in admiring the bridge from afar, but not getting too close.
We recommend following the north route with kids. As mentioned earlier, this is a more gradual ascent to the bridge and steeper on the way down. To follow this route, at your first junction, pass by the first “Bridge Loop” sign making your way down Aqueduct Trail and follow the second “Bridge Loop” sign up towards the bridge. This will ensure you’re hiking down the steeper section after the bridge, rather than up it.
Finally, the lack of shade was mentioned before, but it’s worth repeating. With limited tree coverage, your walk will be almost entirely exposed. Be sure to bring sunscreen and water, in the summer especially, to avoid any unwanted discomforts on what should be nothing but a lovely walk.
About the author: Jaimee Kidd is a writer by nature and content strategist by practice. She currently works as Associate Director of Federal Content and Events for GovExec, a DC-based media company. When she’s not typing away, she’s spending time outdoors with her dog, Moose. Since moving to Utah from New England, she’s eager to explore the trails on foot or on her mountain bike, and is even completing the 52 Hike Challenge this year. You can find her on Tik Tok @jaimeeez to follow along on her adventures.
